How to Prune Moringa: Pinching, Pollarding, and the Hedge Method
How and when to prune a moringa tree for more leaf: pinching seedlings, the annual cut-back, keeping a hedge at picking height, tools, and cut placement.
Learning how to prune moringa is the difference between a tree you admire and a tree you eat from. Left alone, moringa races upward on a single skinny trunk, puts all its leaf twenty feet in the air where you cannot reach it, and snaps in the first tropical storm. Cut it, and it does the opposite: it branches low, bushes out, and produces a dense wall of leaf at picking height that regrows within weeks of every harvest. At my nursery in Weeki Wachee, Florida, every tree I harvest from is pruned constantly, and pruning is most of the work of growing moringa. This is the method, cut by cut.
Why cutting makes more leaf
Moringa grows from the tip. The topmost bud on every stem produces a hormone that suppresses the buds below it, which is why an unpruned tree is one long pole. Remove the tip and the suppression lifts. Several buds just below the cut wake up at once, and each becomes a new branch with its own tip. Cut those, and the process repeats. Two cuts turn one stem into four, then eight. And because the tree is so fast, each round takes weeks, not years.
The result is a plant with far more growing tips, and growing tips are where the leaf is. A pruned tree does not just have leaf closer to the ground. It has more leaf, full stop.
The tools
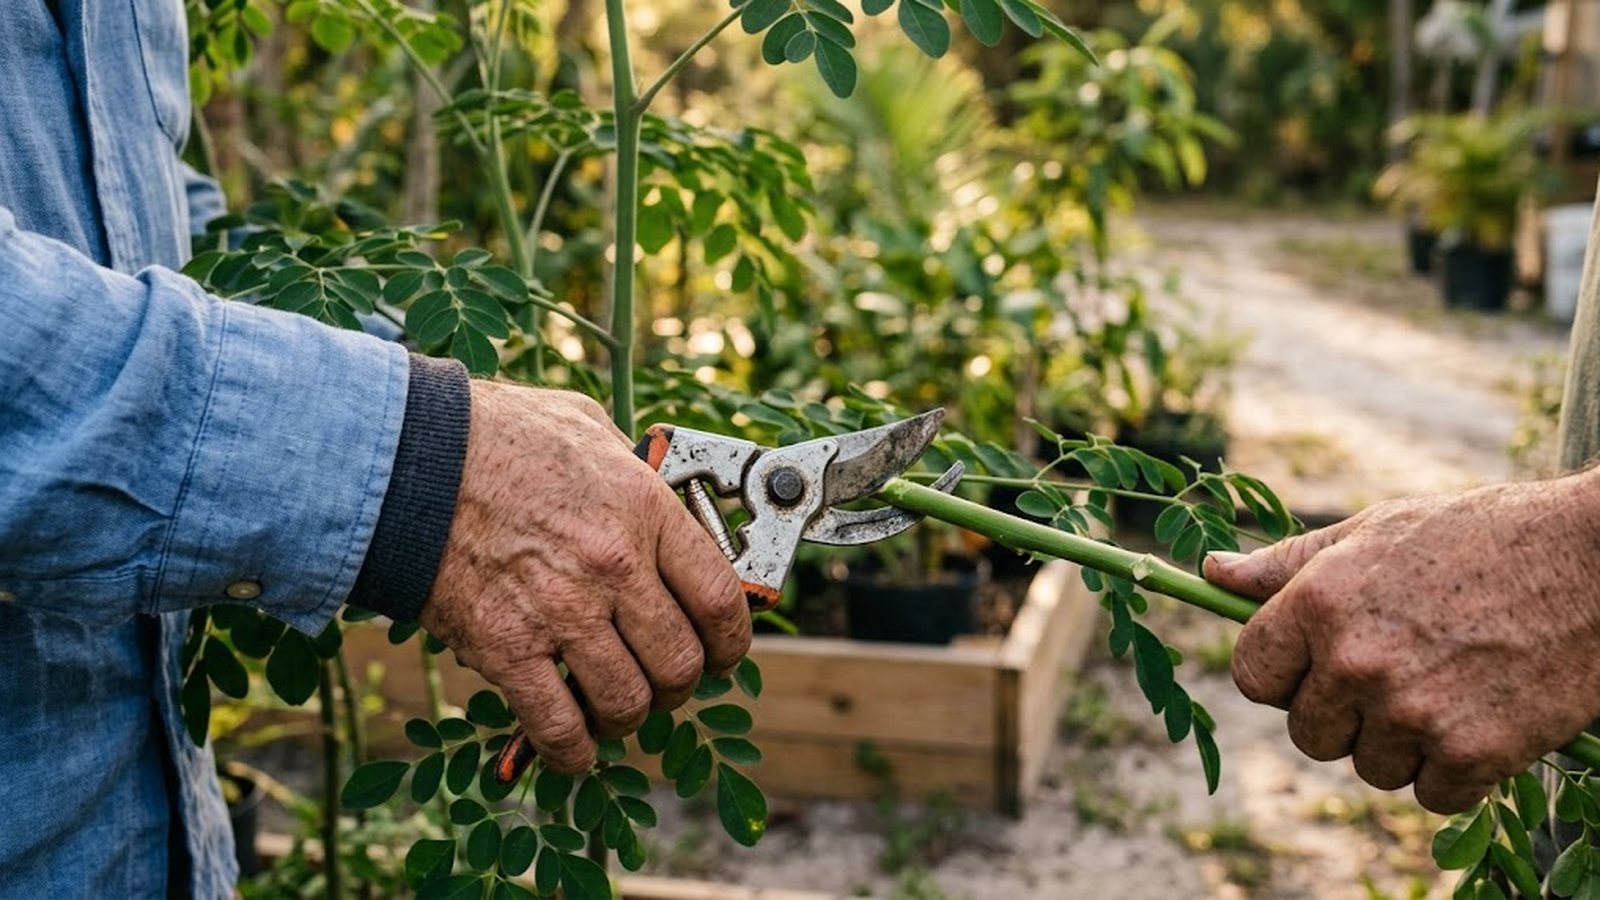
A pair of bypass pruners for anything up to thumb thickness, loppers for the annual cut-back, and a small pruning saw for a trunk. Clean blades; moringa wood is soft and tears if the blade is dull. That is the whole kit. For the weekly pinching on young growth, your thumbnail works better than any tool.
Stage 1: Pinching the seedling
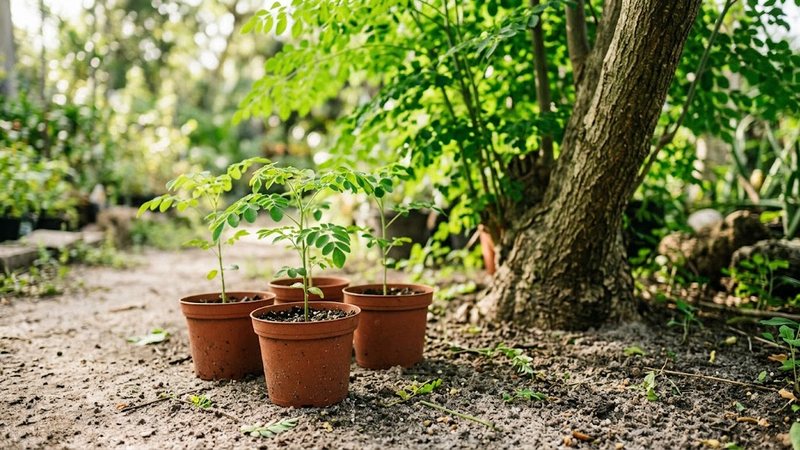
When a seedling reaches two to three feet tall, pinch out the soft growing tip with your fingers, taking the top inch or two. This feels wrong the first time because the seedling looks so eager. Do it anyway. Within two weeks it will push three to five side shoots from just below the pinch.
When those side shoots reach a foot or so, pinch their tips too. Repeat through the first season. By late summer a seedling started in spring has a low branching framework instead of a pole. More on the seedling months in the first 90 days.
Stage 2: The annual cut-back (pollarding)
Once a year, in early spring after the last frost, cut the whole tree back hard. For a tree I harvest from, that means every branch back to three or four feet off the ground, cut just above a node, which is the slightly swollen ring on the stem where leaves once grew. Buds sit at nodes, and the regrowth comes from just below your cut. A cut in the middle of a bare internode leaves a dead stub.
If the tree got away from you and is fifteen feet of trunk, saw it off at four feet and do not feel bad. It will resprout from the trunk. This is the same cut I make after frost kills the top, described in the winter care guide, and the tree treats the two identically.
The regrowth is dramatic. Ten to twenty shoots push from a cut trunk. Once they are a foot long, thin them to the five or six strongest, spaced around the trunk, and pinch those as they grow. What you are building is a candelabra: a short trunk carrying a few strong scaffold branches that each carry many small leafy shoots.

Stage 3: The hedge method (what I actually do)
For real leaf production I plant trees close, two to three feet apart in a row, and keep the whole row at waist to chest height. Every harvest is a pruning: I cut the leafy tips of each shoot, eight to twelve inches, strip the leaf, and the shoot branches again below the cut. The row is picked in rotation, a section every week or two, so something is always ready.
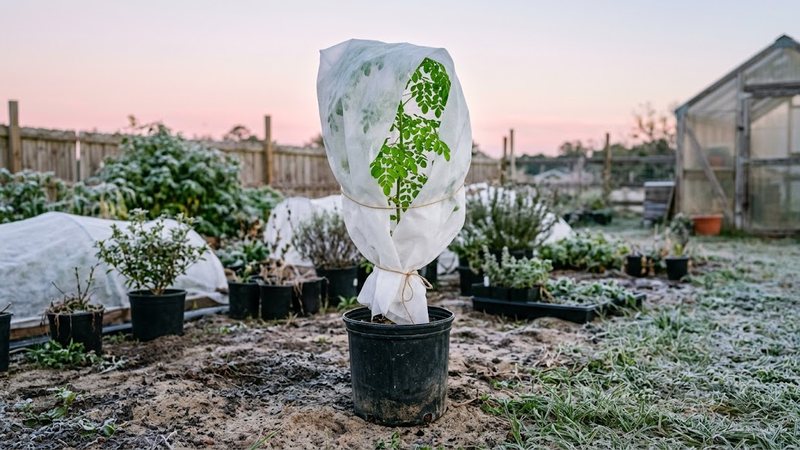
A hedge kept this way produces continuous leaf from April until the nights cool in November, and it never needs a ladder. The plants stay small enough to cover on a frost night. It is the cut-and-come-again approach that market growers use for salad greens, applied to a tree, and moringa is the rare tree that thrives on it.
The one rule: never take more than about a third of the leaf off a plant at once. Cut a plant bare in July and it will recover, but it will take a month, and a month of no leaf in peak season is a waste. Light, frequent cuts beat heavy, rare ones. The timing of those cuts is in when to harvest moringa leaves.
Pruning for pods instead of leaf
If you want pods and seed, prune less. Pinch the seedling once or twice to build a low framework, then let the branches run. Moringa flowers on the tips of mature growth, so a tree that is cut every two weeks never flowers. A tree I am growing for seed gets its spring cut-back and then nothing else all year. The PKM-1 variety I grow flowers within its first year on that schedule. Let a couple of trees go for pods and keep the rest as a hedge, and you get both. What to do with the pods is in how to cook moringa pods.
Timing through the year
- Late winter to early spring, after the last frost: the annual hard cut-back. Never before the frost risk has passed.
- Spring, once regrowth is a foot long: thin the shoots to the strongest five or six, pinch the rest.
- Late spring through fall: harvest-prune every one to two weeks, never taking more than a third.
- Early fall: ease off. Late cuts push tender growth that frost will burn. My last real cut is in late September; after that I only pick leaflets and leave the stems.
- Winter: no cuts at all, even on frost-blackened wood. Dead tips insulate the live wood below.
Mistakes that cost leaf
- Waiting to pinch the seedling. A four-foot pole is harder to turn into a bush than a two-foot one, and you have lost the first round of branching.
- Cutting between nodes. Leaves a dead stub that rots back. Cut just above a node, at a slight angle so water runs off.
- Cutting in fall. The tender regrowth is what frost takes first.
- Stripping the tree bare. It survives, but you lose weeks of production.
- Ignoring the crossing branches. Two branches rubbing wound each other. Take the weaker one.
- Leaving all twenty shoots after a cut-back. Weak, crowded, and they shade each other out. Thin them.
What to do with the prunings
Nothing goes to waste. Leaflets get eaten fresh or dried into powder. Thick straight stems, pencil to broom-handle thick and a foot or two long, root easily as cuttings; push them a third of their length into sandy soil and keep them barely moist. Everything else goes back under the trees as mulch, where it breaks down in a season and feeds the next round of growth.
FAQ
When should I prune a moringa tree?
Hard cut-back once a year in early spring after the last frost. Light harvest-pruning every one to two weeks through the growing season. No cutting from early fall through winter.
How far back can I cut a moringa tree?
Very far. A healthy established tree cut to a three- or four-foot trunk, or even to a stump near the ground, will resprout from the wood or the root crown. Cut just above a node so the buds below your cut can push.
Does pruning moringa make it produce more leaves?
Yes. Removing the growing tip wakes the buds below it, and each becomes a new leafy branch. A tree pruned regularly has many more growing tips, and therefore far more leaf, than an unpruned one, and all of it within reach.
Should I prune moringa in its first year?
Yes. Pinch the growing tip when the seedling is two to three feet tall, then pinch the side shoots as they grow. First-year pinching builds the low, branched framework that makes every later year productive.
Will pruning stop my moringa from flowering?
Frequent pruning does, because moringa flowers on the tips of mature growth. If you want pods and seed, give a tree its spring cut-back and then leave it alone for the season.
The short version
Pinch the seedling at two to three feet and keep pinching all season. Every spring after the last frost, cut the tree back to three or four feet just above a node, then thin the regrowth to five or six strong shoots. Through the season, harvest by cutting leafy tips every week or two, never more than a third of the plant at once. Stop cutting in early fall and leave frost damage alone until spring. For pods, prune less. Everything you cut is either food, a cutting, or mulch.