How to Make Moringa Powder at Home: Dry, Grind, Sift, Store
A grower's step-by-step method for making moringa powder at home: when to pick, how to dry leaves below 105°F without an oven, grinding, sifting, and storage.
If you have a moringa tree, you will eventually have more leaf than you can eat fresh. That is the moment to learn how to make moringa powder, because powder is how a summer of harvest becomes a winter of use. I make my own at the nursery in Weeki Wachee, and the method below is the one I use for my own jars. It needs no special equipment beyond a screen, a grinder, and a sieve. What it does need is patience at the drying stage, because drying is where good powder is made or ruined.
What you are trying to protect
A moringa leaf is roughly three-quarters water. Making powder means removing that water while keeping everything else intact: the bright green chlorophyll, the fresh-grass smell, and the heat-sensitive parts of the leaf's nutrition. Heat, light, and time all work against you. Every decision below comes down to removing water as fast as you can without adding much heat or much light.
My standard, for my own harvest and for any leaf I buy, is drying at or below 105°F. That number is not magic. It is simply the point where leaf dries in a reasonable time and still comes out the color it went in. Leaf dried hot turns olive-brown and smells like hay. Leaf dried gently stays vivid and smells like a lawn just after mowing. You can see and smell the difference in the jar, and so can anyone you give it to.
Step 1: Pick at the right time
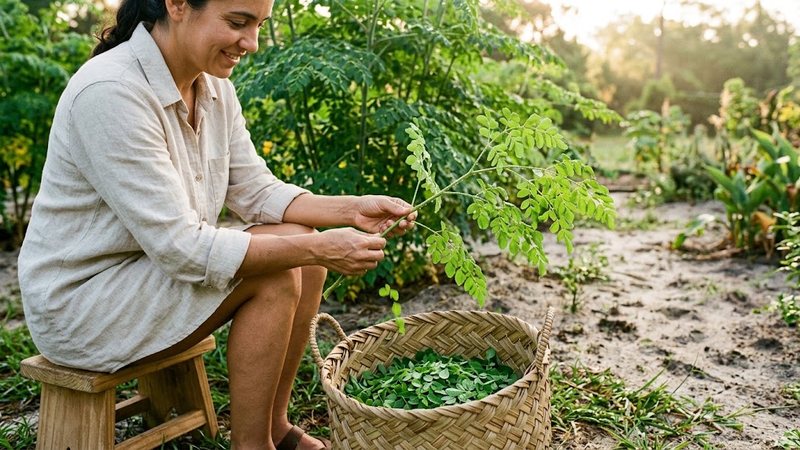
Harvest in the early morning, after the dew has lifted but before the sun is high. The leaf is fully hydrated, cool, and at its best. Take mature leaflets from healthy branches and skip the very newest, palest growth, which is mostly water and wilts to nothing. If you need a refresher on which branches to cut and how much to take, see when to harvest moringa leaves.
Strip the leaflets off the stems as soon as you can. Stems dry slower than leaflets, and they grind into pale, fibrous flecks that dilute the powder. The fastest way to strip is to hold the tip of a branch in one hand and run the other hand down it against the direction of growth. The leaflets come off in a shower and the stems stay in your hand.
Step 2: Wash, then dry the surface
Rinse the leaflets in cool water to remove dust and any hitchhikers. Then get the surface water off quickly. A salad spinner works well. So does laying them on a clean towel and rolling gently. Do not skip this. Wet leaflets that go onto a drying screen in Florida humidity can sit damp long enough to mold, and any mold means the whole batch goes to the compost.
Step 3: Dry below 105°F
You have three good options and one bad one.
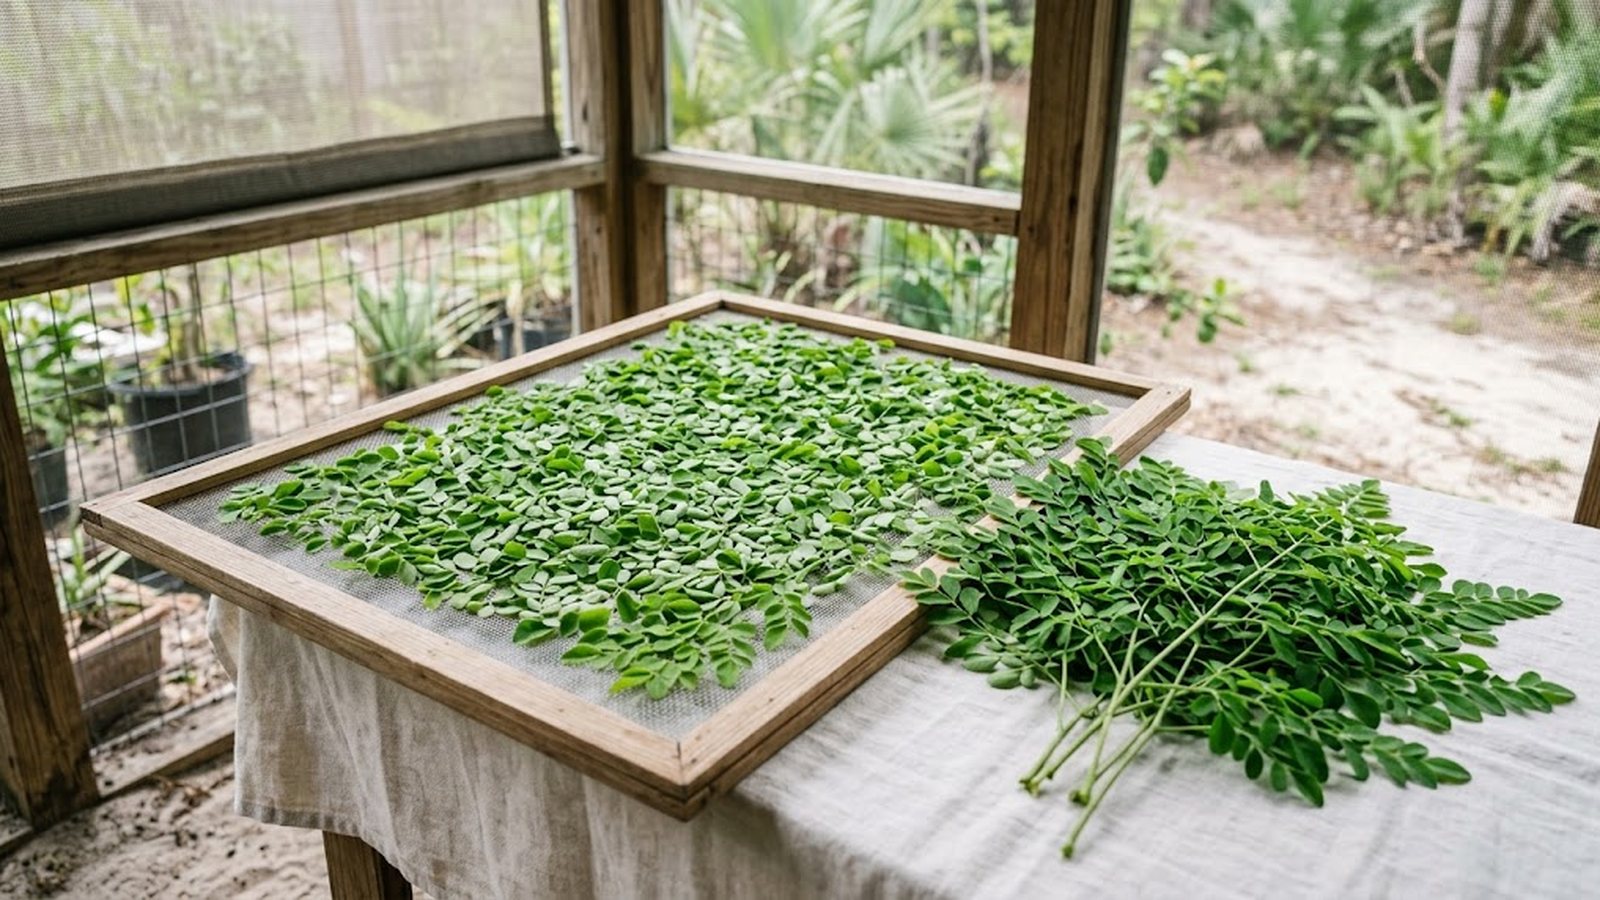
- Shade drying on screens is what I use most. Spread leaflets in a single layer on window-screen frames or mesh racks, out of direct sun, somewhere with moving air. A screened porch with a fan is ideal. In dry weather the leaf is crisp in two to three days. In humid weather it can take four or five, and a fan is not optional.
- A dehydrator on its lowest setting is the most reliable route if you have one. Set it to 95 to 105°F and spread the leaflets thin. Most batches are done in six to ten hours. Check the temperature with a separate thermometer the first time, because the dial on a cheap dehydrator is often optimistic.
- Hanging small bundles works for whole branches if you are short on rack space. Tie a few branches at the stem end and hang them leaf-down in a dark, airy room. Strip the leaflets once they are brittle. It is slower and the leaf on the inside of a fat bundle can brown, so keep bundles thin.
- Direct sun is the bad option. It is fast, and it bleaches the leaf from green to yellow-grey in a single afternoon. An oven is worse still, because even the lowest oven setting on most ranges is 170°F or higher.
Done means it crumbles to dust between your fingers, no bend left. A leaflet that folds instead of shattering still holds water. Water in a sealed jar means mold. When in doubt, give it another day.
Step 4: Grind
A coffee grinder, a spice grinder, or a high-speed blender all work. Grind in small batches, a handful at a time, and pulse rather than running the motor continuously. A grinder that runs for a minute straight gets warm, and warm is exactly what you spent three days avoiding. Ten seconds of pulsing, a shake, ten more seconds, and you are there.
You will notice the grinder produces two textures: fine powder and coarse grit. The grit is mostly the tiny leaflet midribs and any stem you missed. That is what the next step is for.
Step 5: Sift
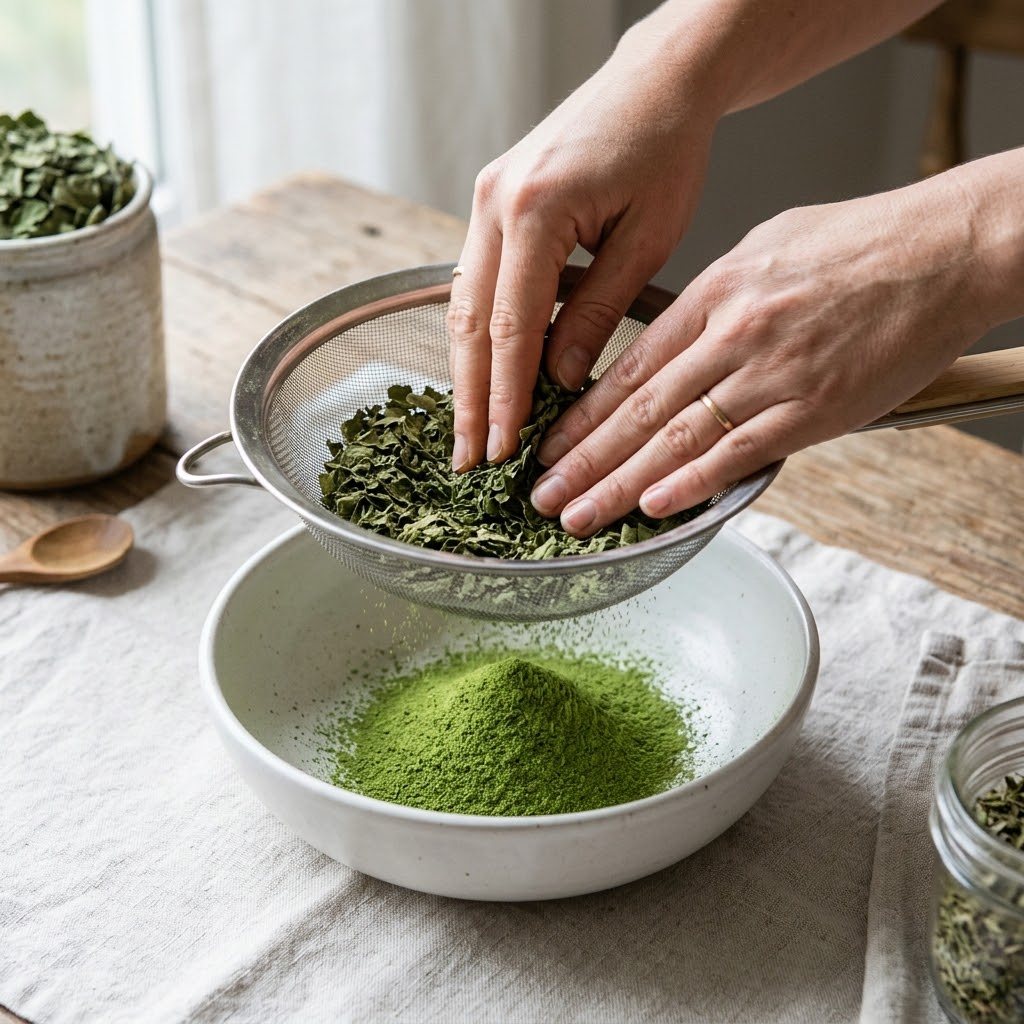
Pass the ground leaf through a fine mesh sieve into a bowl. A standard kitchen strainer gives you a powder close to what you buy in a store. A finer flour sifter gives you something silkier that disappears into smoothies and sauces. The coarse material that stays in the sieve is not waste. Grind it a second time, or keep it separately for tea, where it steeps beautifully and texture does not matter.
Yield surprises first-timers. A big mixing bowl heaped with fresh leaflets becomes roughly a cup of powder. A pound of fresh leaf gives you somewhere around three to four ounces dried. Plan your harvest with that in mind, and do not feel cheated when the mountain becomes a molehill. The molehill is the whole point.
Step 6: Store it green
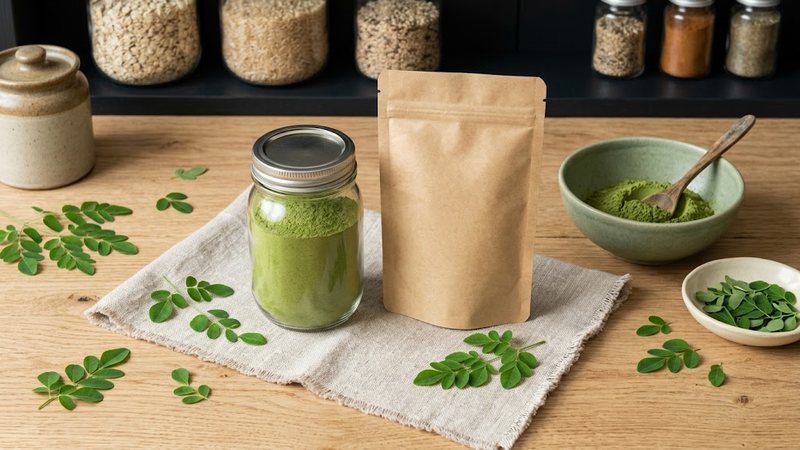
Powder is finished the moment it is sifted, and it starts aging the moment after. Put it in a clean, bone-dry glass jar with a tight lid, fill the jar as full as you can so there is little air on top, and keep it in a dark cupboard. If you made more than you will use in a couple of months, split it: a small working jar for the kitchen and the rest sealed away in the back of the pantry, or in the freezer in an airtight container. My full notes on keeping powder fresh are in the moringa powder storage guide.
Label the jar with the date. Homemade powder kept dark and dry stays vivid for six months to a year. It does not spoil so much as fade: the green dulls, the fresh smell flattens toward hay, and you will know it is time to make a new batch.
Mistakes I have made so you do not have to
- Drying on a hot afternoon porch. Direct sun through a screen still bleaches. I lost a batch to a west-facing porch in July. Shade means shade.
- Grinding leaf that was not quite dry. It gums the grinder into a paste. If your grinder smears instead of dusting, stop and dry the leaf longer.
- Leaving stems in. They are the reason some homemade powder looks pale and tastes woody. Strip carefully.
- Storing in a plastic bag. Plastic breathes, and powder stored in it fades noticeably faster than powder in glass.
- Making powder from stressed trees. Leaf from a drought-stressed or pest-chewed tree is thin and yellowish going in, and it does not improve by drying. Feed and water the tree first; powder comes later.
When buying makes more sense
I sell moringa leaf powder, so take this with that in mind, but here is the honest math. Making powder is worth it if you have the trees and the time. If you have one small tree and a full schedule, you will spend a weekend to make a few weeks of powder. Many people do both: fresh leaf and homemade powder while the tree is producing, and a jar from a source they trust for the off season. If you go that route, the same standards apply. The buyer's checklist tells you how to judge a jar by color, smell, and the seller's answer to one question: what temperature was it dried at?
FAQ
Can I dry moringa leaves in the oven?
Not well. The lowest setting on most home ovens is 170°F or higher, which browns the leaf and flattens the flavor. If the oven is your only option, leave the door propped open with a wooden spoon, use the lowest setting, and check every twenty minutes. A dehydrator or a shaded screen with a fan will give you a greener result.
How long do moringa leaves take to dry?
On shaded screens with moving air, two to five days depending on humidity. In a dehydrator at 95 to 105°F, six to ten hours. The leaf is ready when it shatters between your fingers instead of bending.
Why did my homemade moringa powder turn brown?
Heat or light during drying, almost every time. Direct sun, a hot porch, or a high dehydrator setting will do it. Leaf that sat wet and started to ferment before drying also darkens. Dry in shade, keep the temperature down, and get the leaf onto the screens the same morning you pick it.
Do I have to remove the stems?
You do not have to, but you will get a better powder if you do. Stems dry slower, grind into pale fibrous specks, and add a woody taste. Strip the leaflets, then sift out what is left.
Does homemade moringa powder taste different from store-bought?
Fresh homemade powder usually tastes greener and cleaner than most commercial jars, simply because it is days old instead of months. The taste guide covers what good powder should taste like and what off flavors mean.
The short version
Pick in the morning, strip the leaflets, wash and spin them dry, and dry them in shade or a dehydrator at 105°F or below until they shatter. Pulse-grind in small batches, sift, and seal the powder in a full glass jar in a dark cupboard. Expect roughly three to four ounces of powder per pound of fresh leaf, and expect it to stay bright for six months to a year. The only hard rule is the one that matters most: no heat, no sun.