Saving Moringa Seed From Your Own Tree: Pods to Jar to Next Spring
How to harvest, dry, clean, test, and store moringa seed: ripe-pod signs, drying and shelling, viability by age, and storage that keeps seed sprouting for two years.
Saving moringa seed is the point at which a moringa grower stops being a customer. One tree left to flower will hand you hundreds of seeds by fall, enough for your own planting, your neighbors', and a jar in reserve for the winter that kills a tree. I grow PKM-1, PKM-2, and ODC3 for seed on the sandy ground of my Weeki Wachee nursery, and the seed I sell is harvested, dried, and stored exactly the way described here. This is the whole cycle: letting a tree set pods, knowing when a pod is ripe, drying and shelling, testing, and storing so the seed still sprouts next year and the year after.
Step 1: let a tree go to seed
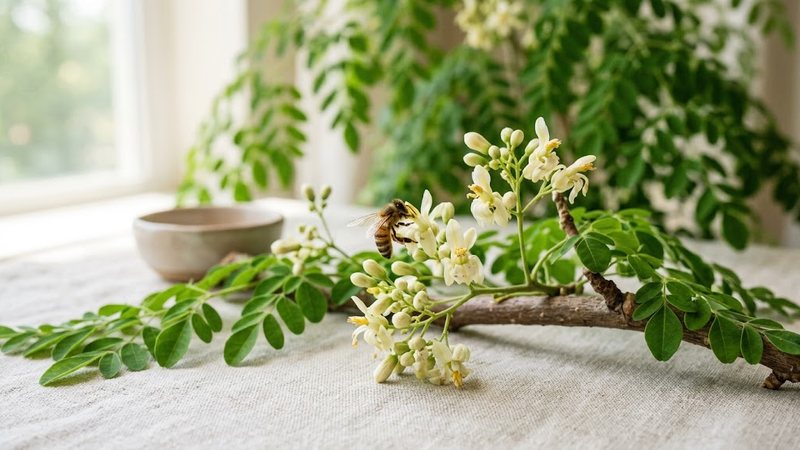
A tree cut every two weeks for leaf never flowers, because moringa blooms on the tips of mature growth. To get seed, pick a tree and stop cutting it. Give it its spring cut-back so it has a low, branched frame you can reach, then leave it alone for the season. Water it if it is in a pot or a drought; a stressed tree flowers early but sets fewer pods.
PKM-1 is the variety to choose if you want seed fast. It was bred in India for early, heavy podding and will flower and set pods in its first year from seed here. Heirloom types take a year or two longer and grow taller. The seed guide compares the varieties I grow. Whatever the variety, one tree is enough; a mature PKM-1 sets far more pods than a household needs.
Flowers come in waves from late spring, described in the flower guide, and each pollinated flower becomes a pod within a couple of weeks.
Step 2: leave the pods on the tree
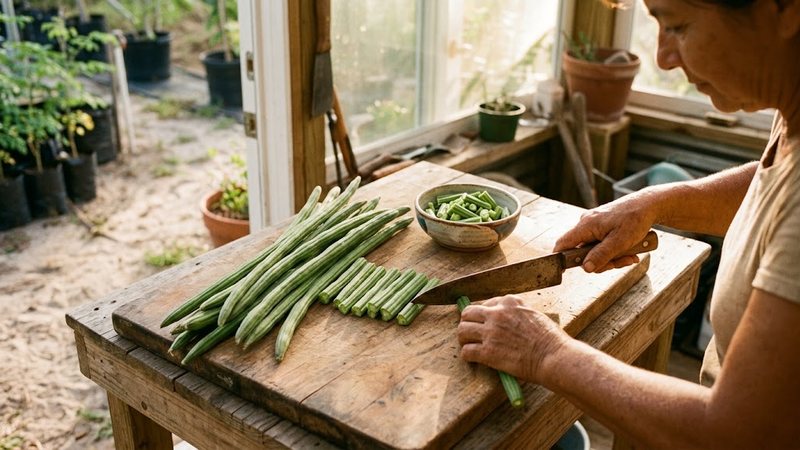
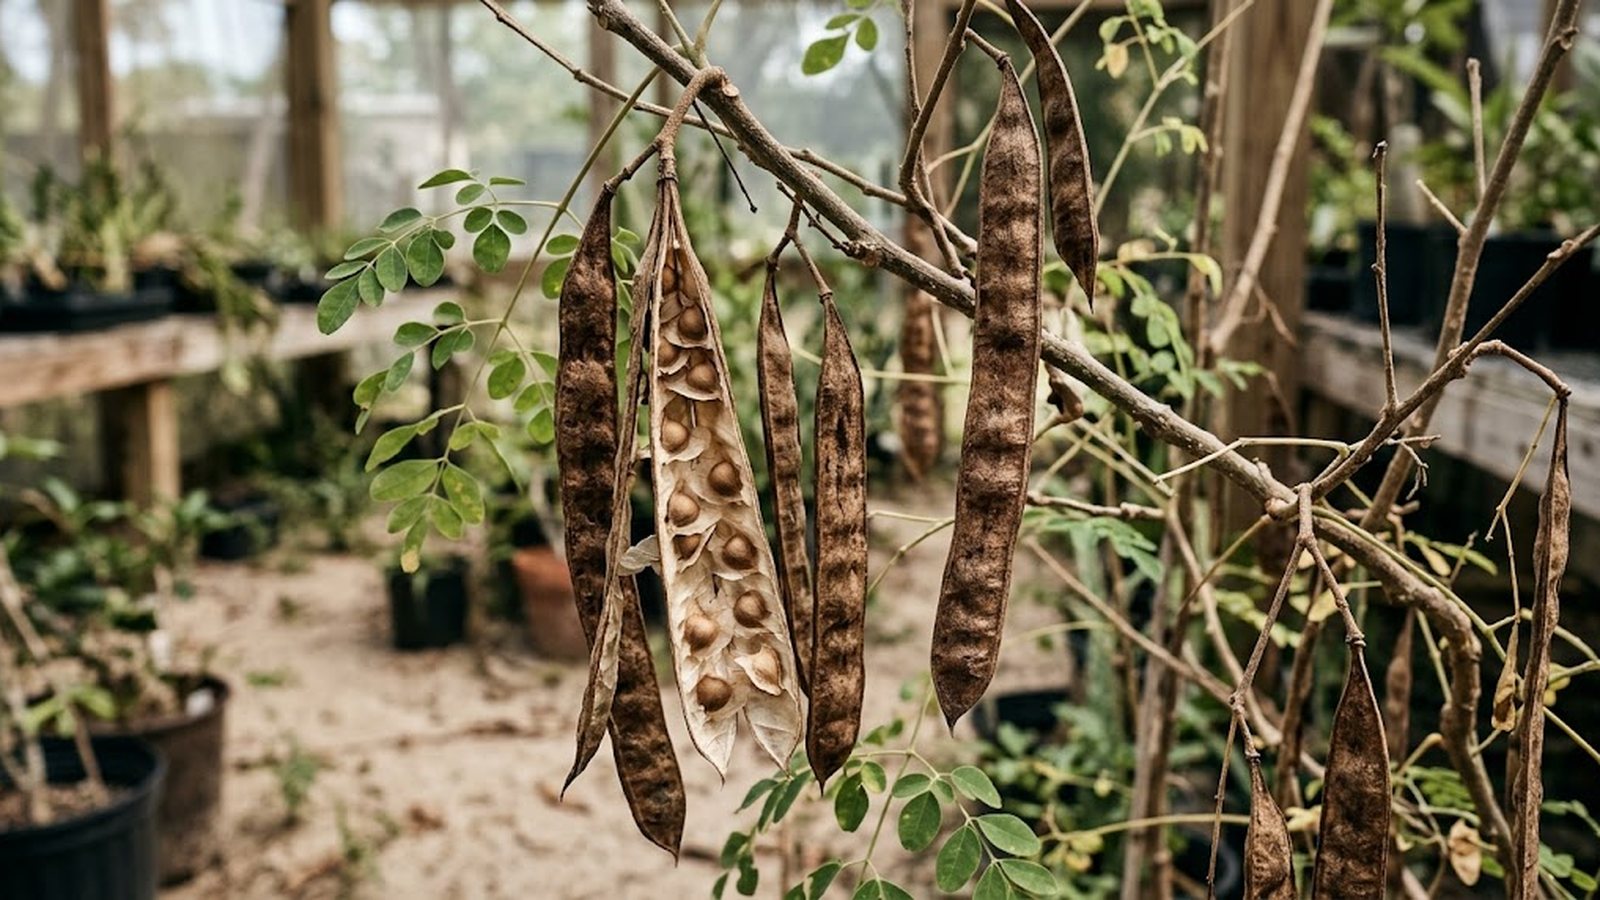
This is the hard part, because the same pods are delicious as a vegetable at the young, green stage, and you have to let them go past it. A pod for the kitchen is picked slim and snappy at six to eight weeks; a pod for seed stays on the tree for three months or more, until it is fully grown, brown, dry, and rattling.
Watch for these signs of a ripe seed pod:
- Color has gone from green to tan or brown along the whole length.
- Texture is dry, papery, and often slightly split along the seams.
- Sound. Shake it. Ripe seeds rattle inside.
- The pod has stopped swelling and the seed bumps are fully rounded.
If you pick pods while any green remains, the seed inside is immature and will not sprout well. If you leave them much past full dryness, the pods split on the tree and drop their seed, which is fine if you want volunteer seedlings and a nuisance if you do not. In a wet fall, a pod that splits and takes on rain can mold, so I pick as soon as a pod is brown and dry rather than waiting for it to open.
Step 3: harvest and dry indoors
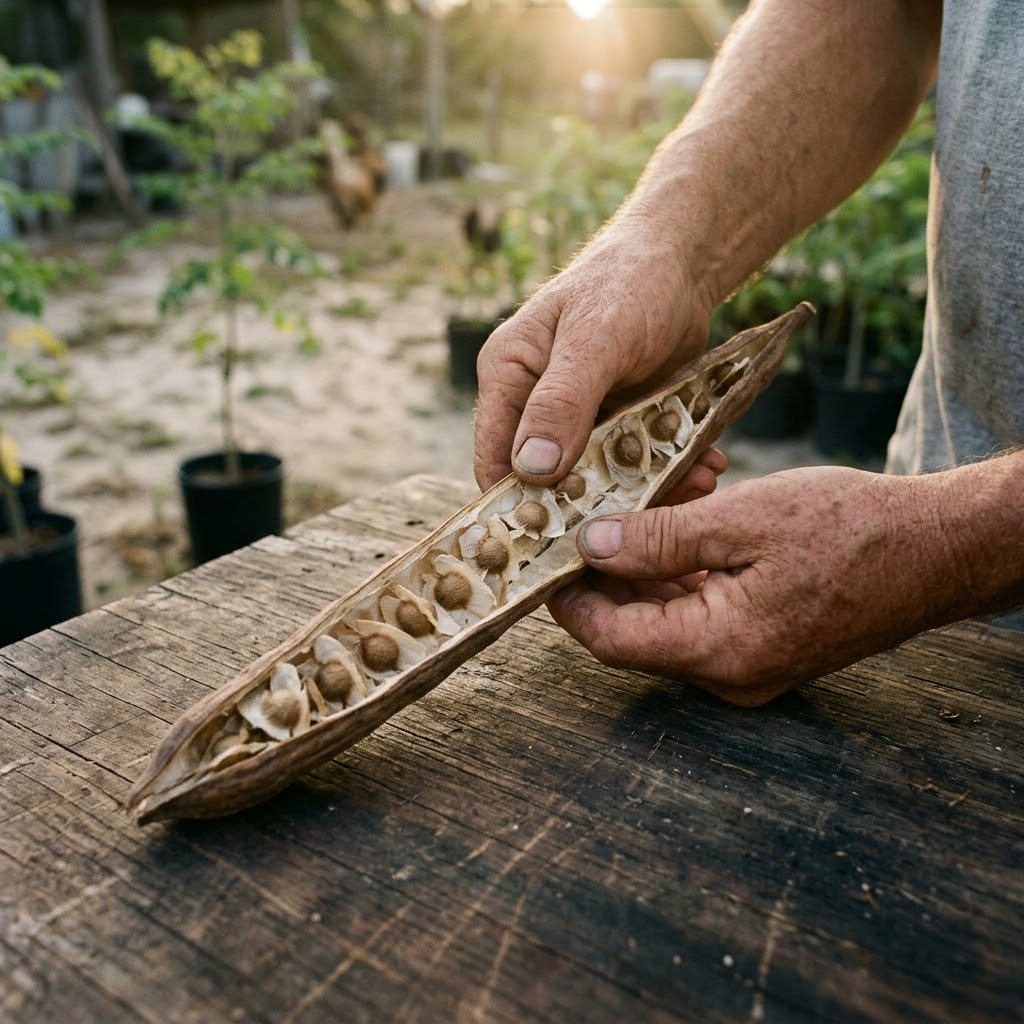
Cut or twist the dry pods off the tree on a dry day. Bring them inside and spread them in a single layer on a tray or screen somewhere warm, dry, and airy for another one to two weeks. Even a pod that feels dry on the tree carries moisture in the seed, and seed stored damp molds or rots in the jar. In a humid Florida fall, a fan on the trays speeds this up and matters more than you would think.
The pods are ready to shell when they split easily along the seams with thumb pressure and the seeds inside are hard and dry, not at all rubbery.
Step 4: shell and clean
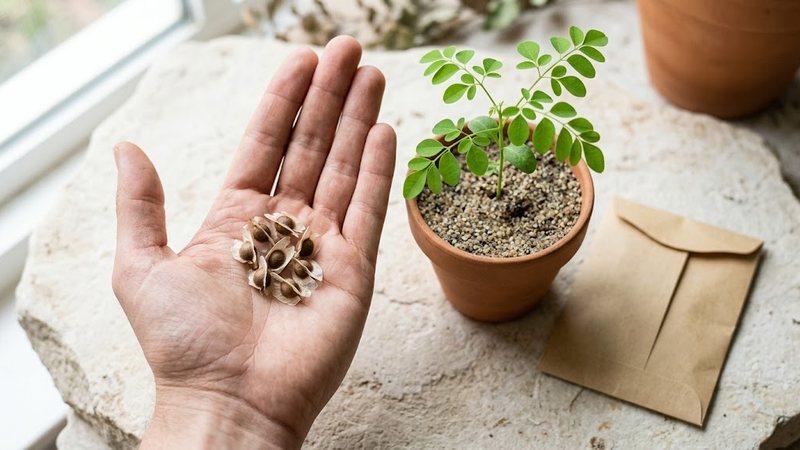
Split each pod lengthwise and run a thumb down the inside; the seeds pop out in a row. A big pod holds twenty to thirty seeds. Discard any that are shriveled, tiny, dark, soft, or show insect holes. Good seed is plump, tan to brown, with three papery wings intact and a firm feel.
You can store seed with the wings on or off. I leave them on; they are harmless in the soil, they help me tell varieties apart, and rubbing them off is tedious. The PKM-1 seed I sell as "wingless" had its wings rubbed off for packing. There is no advantage in the ground. Do not remove the shell itself; the kernel inside is exposed and oily without it and goes stale within weeks.
Give the cleaned seed another few days on the tray before it goes into storage. The drier it is going in, the longer it lasts.
Step 5: test a sample
Before you store a batch, test ten seeds so you know what you have. Fold them in a damp paper towel, put it in a zip bag or a lidded container, and keep it somewhere warm, 80°F or so, for a week. Count how many have sent out a root. Eight or more of ten is excellent. Six is fine. Below five, either the pods were picked green or the drying went wrong, and you should note it on the jar so you sow more thickly next spring. The same test is described in the seed buying guide, and it is worth doing again in spring on older seed.
Step 6: store it
Moringa seed is short-lived compared with many garden seeds. Fresh seed sprouts at 80 to 90 percent. After a year in good storage it is often still above 70; after two years it can be down to half; by three years it is a gamble. What extends its life is the same three things that extend any seed: dry, cool, dark.
- Container: a glass jar with a tight lid, or a sealed paper envelope inside a jar. Avoid plastic bags alone, which trap any moisture the seed still carries.
- Desiccant: a packet of silica gel, or a tablespoon of dry rice in a twist of cloth, in the jar absorbs residual moisture. Replace or re-dry it every few months.
- Place: a cool closet or cupboard is fine for a year. For longer, the refrigerator, in a sealed jar with desiccant, and let the jar come to room temperature before opening so condensation does not form on cold seed.
- Label: variety, harvest month and year, and the germination result from your test. A year from now you will not remember.
Keep the eating seed and the planting seed separate. Seed for the table, covered in how to eat moringa seeds, is stored the same way but does not need to stay viable, so older seed can go to the kitchen or to the water-clearing jar while the freshest seed is kept for planting.
What one tree gives you
A single mature PKM-1 tree left to pod produces, in a decent year, several dozen pods, which is somewhere between five hundred and a thousand seeds. At two or three seeds per planting spot, that plants a small orchard. Give most of it away, keep a jar for spring, keep a second jar in the fridge as insurance against a bad winter, and eat or plant the rest. The tree will do it again next year.
FAQ
When are moringa seed pods ready to harvest?
When the whole pod has turned brown, feels dry and papery, and the seeds rattle inside, usually about three months after flowering. Any green on the pod means the seed is immature.
How do you dry moringa seeds for storage?
Spread whole dry pods on a tray or screen indoors with good airflow for one to two weeks, shell them, and give the cleaned seed a few more days on the tray. Store only when the seed is hard and fully dry.
How long do moringa seeds stay viable?
Fresh seed sprouts at 80 to 90 percent. Stored dry, cool, and dark, it is usually above 70 percent after one year and around half after two. Test a sample each spring.
Should I remove the wings from moringa seeds before storing?
It is optional. The papery wings do no harm in storage or in the soil. Leave the hard shell on; a shelled kernel goes stale in weeks.
How many seeds does a moringa pod have?
Twenty to thirty in a typical pod, sometimes more in a large PKM-1 pod. A single productive tree can yield several hundred seeds a year.
The short version
Leave one tree uncut so it flowers, and let its pods stay on the tree until they are brown, dry, and rattling. Bring them in, dry them another week or two, shell, discard anything shriveled or dark, dry the seed a few more days, and test ten in a damp paper towel. Store the rest in a sealed glass jar with a desiccant, cool and dark, labeled with the date and the test result. Expect excellent germination the first year, good the second, and a gamble after that. One tree gives you hundreds of seeds; keep a jar in reserve.