How to Grow Moringa: A Field-Tested Guide for Florida and the South
How to grow moringa from seed or cutting in Florida and Zones 8 to 11: soil, planting, watering, the pruning trick that multiplies leaf, and a monthly calendar.
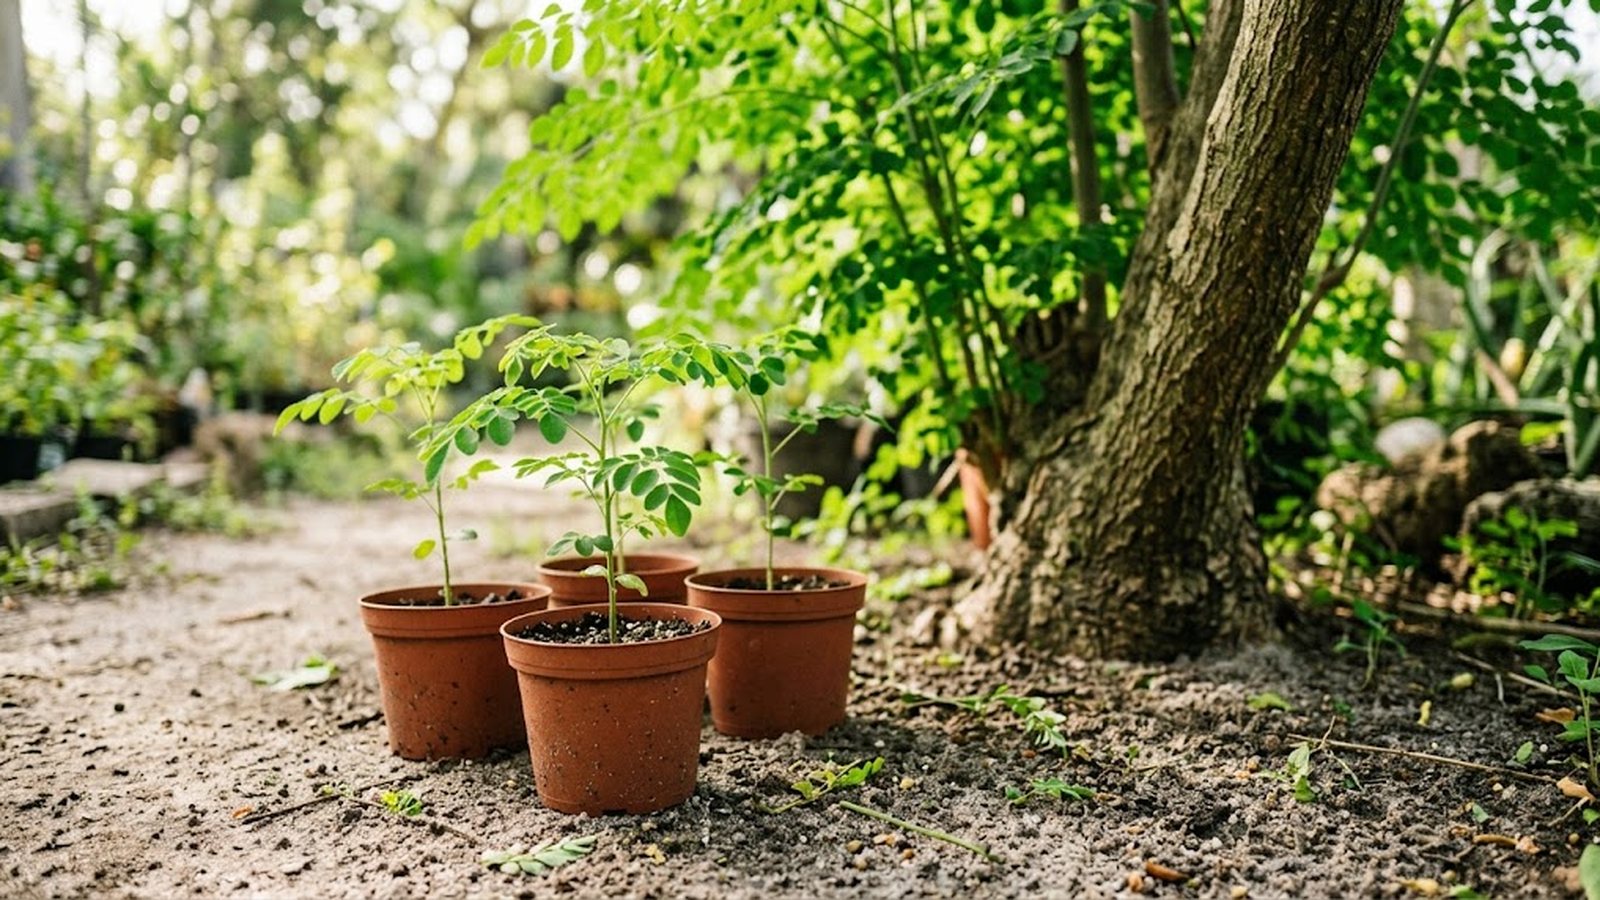
Moringa is one of the most forgiving food plants you can grow if you live somewhere warm. It wants the conditions most vegetables hate (blazing sun, heat, sandy soil, and dry spells), which makes it close to ideal for Florida and the rest of USDA Zones 8 through 11. This is the short, field-tested version of how I grow it at my small nursery in Weeki Wachee. For the exhaustive reference, our free Complete Moringa Care Guide goes deeper on every step.
Site and soil
Pick the sunniest spot you have. Moringa wants a minimum of six hours of direct sun; twelve to fourteen is better and produces the densest leaf canopy. Shade is the one thing it genuinely will not tolerate.
Soil should be loose and well-draining: loamy or sandy is perfect, which is why Florida's native sandy soils suit it so well. Aim for a pH of roughly 6.5 to 7.5. Work two to three inches of compost into the planting area beforehand. The single most important soil rule: moringa will not tolerate wet feet. Waterlogged roots cause root rot, and root rot is the number one killer of otherwise healthy moringa. If your ground holds water, plant on a mound or in a raised bed.
Planting from seed
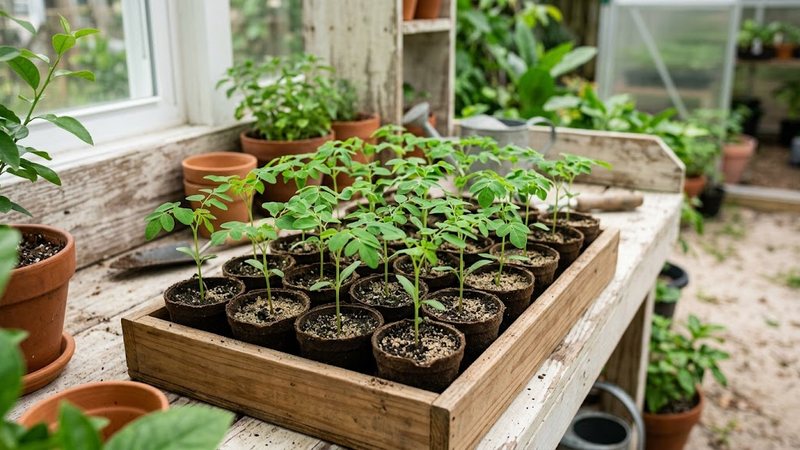
Plant seeds about one inch deep, two or three seeds per hole, in warm soil (70–90°F). They germinate fast, usually in three to fourteen days. Once seedlings reach about five inches, thin to the single strongest one per spot.
One detail people miss: moringa grows a deep taproot quickly, and that taproot resents being disturbed. Either direct-sow where the plant will live, or start seeds in deep containers (eighteen inches or more) and transplant early, before the taproot is established.
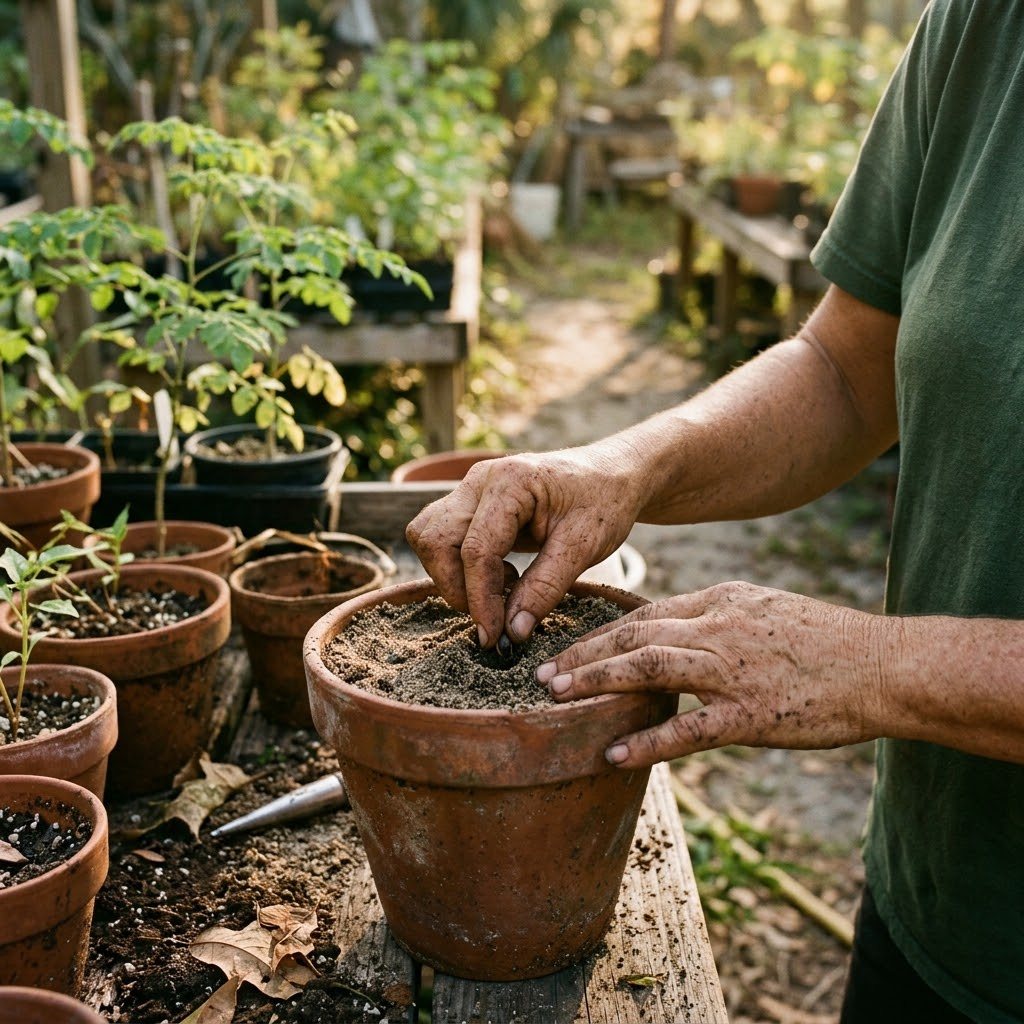
Planting from cuttings
Cuttings skip the vulnerable seedling stage entirely. Use a hardwood branch at least one inch thick and about three feet long, and plant it three feet deep in well-draining soil. In warm weather it roots quickly. Cuttings give you a faster, sturdier start, though seed-grown trees develop the deeper taproot and better drought tolerance over time.
Spacing depends on what you want
- Growing for leaves and powder: plant close, about three feet apart, as a high-density hedge. You will prune often and harvest constantly.
- Growing for pods and seeds: give each tree room, ten to fifteen feet apart, and let it grow tall.
Most home growers want leaves, so go dense and plan to prune.
Watering
Young plants need consistent moisture; established trees barely need you at all.
- Weeks 1–2 (germination): keep soil consistently moist, not soggy. Light water daily or every other day.
- Weeks 2–8 (seedling): water every two to three days, letting the top inch dry between waterings. Deep, infrequent watering drives the taproot down.
- Established (2+ months): highly drought-tolerant. One to two waterings a week in dry season; back off in the rainy season. Never let water pool at the base.
Mulching two to three inches around the base (straw or wood chips) holds moisture, suppresses weeds, and buffers the soil temperature. Keep the mulch off the trunk itself.
The pruning trick that multiplies your harvest
This is the part that separates a useful moringa plant from a tall, useless one, so read it twice.
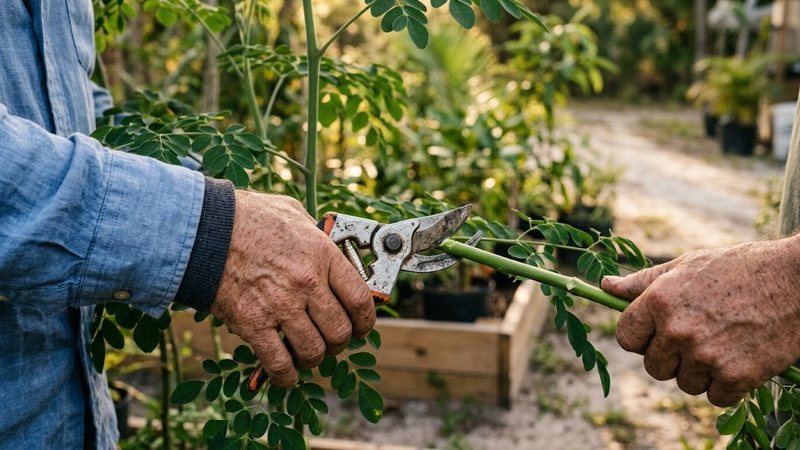
Left alone, moringa shoots straight up into a thin tree with all its leaves fifteen feet over your head. The fix is aggressive early pruning. When the plant reaches three to five feet, cut it back to about three feet. It feels brutal. Do it anyway. This forces the plant to branch out bushy and low instead of tall and bare, and keeps every leaf within arm's reach.
After that, prune the top growth every forty-five to sixty days to hold it at a three-to-five-foot hedge. Always cut just above a leaf node. This is not optional maintenance. Regular pruning is what makes moringa a cut-and-come-again crop, and it multiplies leaf yield dramatically compared to an unpruned tree. With steady pruning, one mature Florida tree yields a substantial amount of fresh leaf each season.
One timing note: avoid heavy pruning during the peak rainy months (roughly June through September in Florida). Open pruning wounds in constant wet weather invite fungal infection. Do your big cuts before or after the wettest stretch.
Feeding
Honestly, compost is enough. A two-to-three-inch layer around the base every three to four months feeds the plant and improves the soil biology, and it removes any need for synthetic fertilizer. If you have no compost, a single application of slow-release balanced granular fertilizer in early spring is plenty. Do not over-fertilize: excess nitrogen gives you lush, weak, floppy growth.
Common problems
- Root rot (yellowing, wilting, soft dark roots): almost always overwatering or poor drainage. Prevention is everything; fix drainage and let it dry.
- Aphids (sticky residue, curling new growth): a strong jet of water or neem oil, repeated every five to seven days.
- Caterpillars/armyworms (ragged holes, droppings): Bacillus thuringiensis (Bt) spray, organic and harvest-safe.
- Spider mites (fine webbing, stippling): neem or insecticidal soap, plus better air circulation.
A vigorous, well-pruned plant shrugs off most pest pressure. Stress is what invites trouble.
A simple Florida calendar
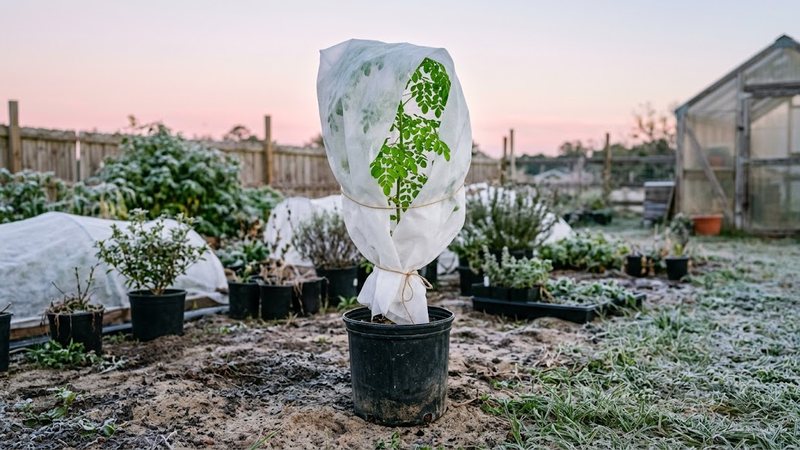
- Jan–Feb (cool, frost risk): protect young trees below 45°F with frost cloth; established trees may drop leaves and resprout in spring. Reduce water; do not fertilize.
- Mar–May (prime planting): best window to plant. Apply compost. Start the pruning cycle once trees hit three feet. Early-season leaves are some of the most potent of the year.
- Jun–Sep (rainy, fast growth): the explosive growth period. Harvest every three to four weeks. Watch for aphids. Avoid heavy pruning in the wettest weeks. Cut back irrigation; nature is handling it.
- Oct–Dec (dry, harvest): resume aggressive pruning. Water two to three times a week as it dries out. Great window for pod and seed harvest. Prepare frost protection by December.
Start with good seed
All of the above assumes you started with viable, non-GMO seed of a known variety. I grow ODC3, PKM-1, and PKM-2 at the nursery (productive varieties suited to leaf, pod, and oil production), and we send growing notes with every seed order from our shop. If you want the full reference with the complete pest table and care detail, ask us about the free Complete Moringa Care Guide.
Once the tree is up, pruning is most of the work and winter care is the rest; the seedling guide covers the first three months in detail.
FAQ
How long does it take to grow moringa?
From seed to a first light picking is eight to twelve weeks in warm weather, and a spring-sown seedling is a branched, harvestable bush by the end of its first summer. Few trees are faster.
Does moringa need full sun?
Yes. Six hours is the minimum for a healthy tree and eight or more is what makes it productive. In shade it grows tall, thin, and pale.
Can moringa grow in clay soil?
Poorly, unless you fix the drainage. The fleshy taproot rots in wet clay. Plant on a mound or in a raised bed with sand or grit mixed in, and never in a spot where water stands after rain.
How much water does a moringa tree need?
Very little once established in the ground; my trees get no supplemental water. Seedlings and container trees need a deep drink whenever the top inch or two of soil is dry, which can be daily in summer heat.
The short version
Full sun, sandy or well-drained soil, and warmth are the whole recipe. Sow fresh seed an inch deep once the soil is above 70°F, water only when the surface dries, pinch the seedling at two to three feet, and keep cutting so the tree stays a leafy hedge at picking height. Feed lightly, mulch deep before winter, cut back after the last frost, and start with good seed.